Classic UI guide
This chapter covers the classic mirroring UI (older workflow). Complete software download, IPA signing, and disk image setup in the main tutorial first.
How to open
- Start and sign in to the control center
- On the top toolbar, click Group control mirroring
- In the dialog, choose Classic UI, then confirm
- Wait for the mirroring page to load
Start automation
First double-click ioscenter.exe to start the control center.
- Go to Control center → System settings, find Proxy Bundle ID prefix, enter the proxy IPA package name, and save
- If you do not know the package name: after installing the IPA, in 爱思助手 under Apps & Games, right-click and copy the identifier
- On the left toolbar of the mirroring UI, find the IPA package name button, enter the proxy Bundle ID again, and save
- In the control center, click Start automation and wait until Service status turns blue Yes
- If it never starts, right-click the device and choose Test automation to diagnose:
- App list fetch succeeds → developer disk image is OK
- The returned log helps further troubleshooting
tip
After the first successful start, later you only need to click Start mirroring in the mirroring client — you do not need to return to the control center each time. The automation service keeps running in the background.
Mirroring
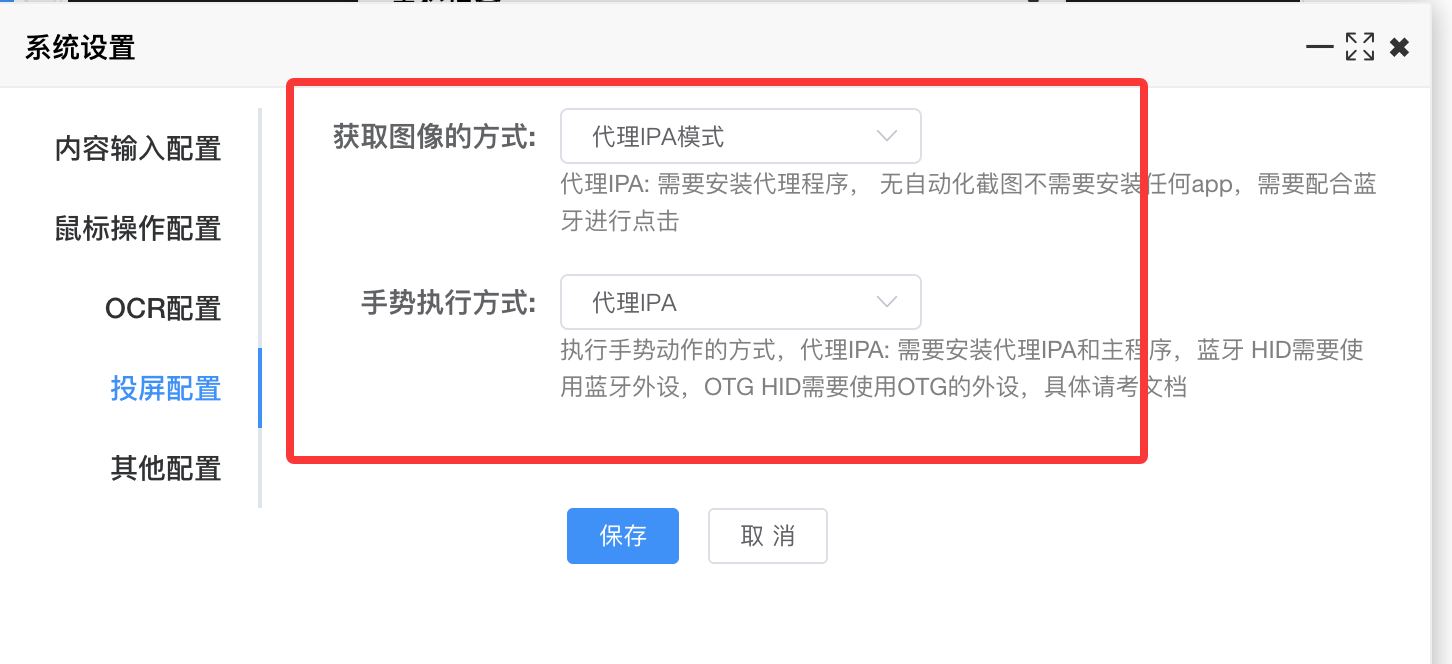
- In the mirroring UI system settings, set all mirroring options to Proxy IPA
- After the automation service starts and is authorized, click Start mirroring on the left toolbar to see the phone screen
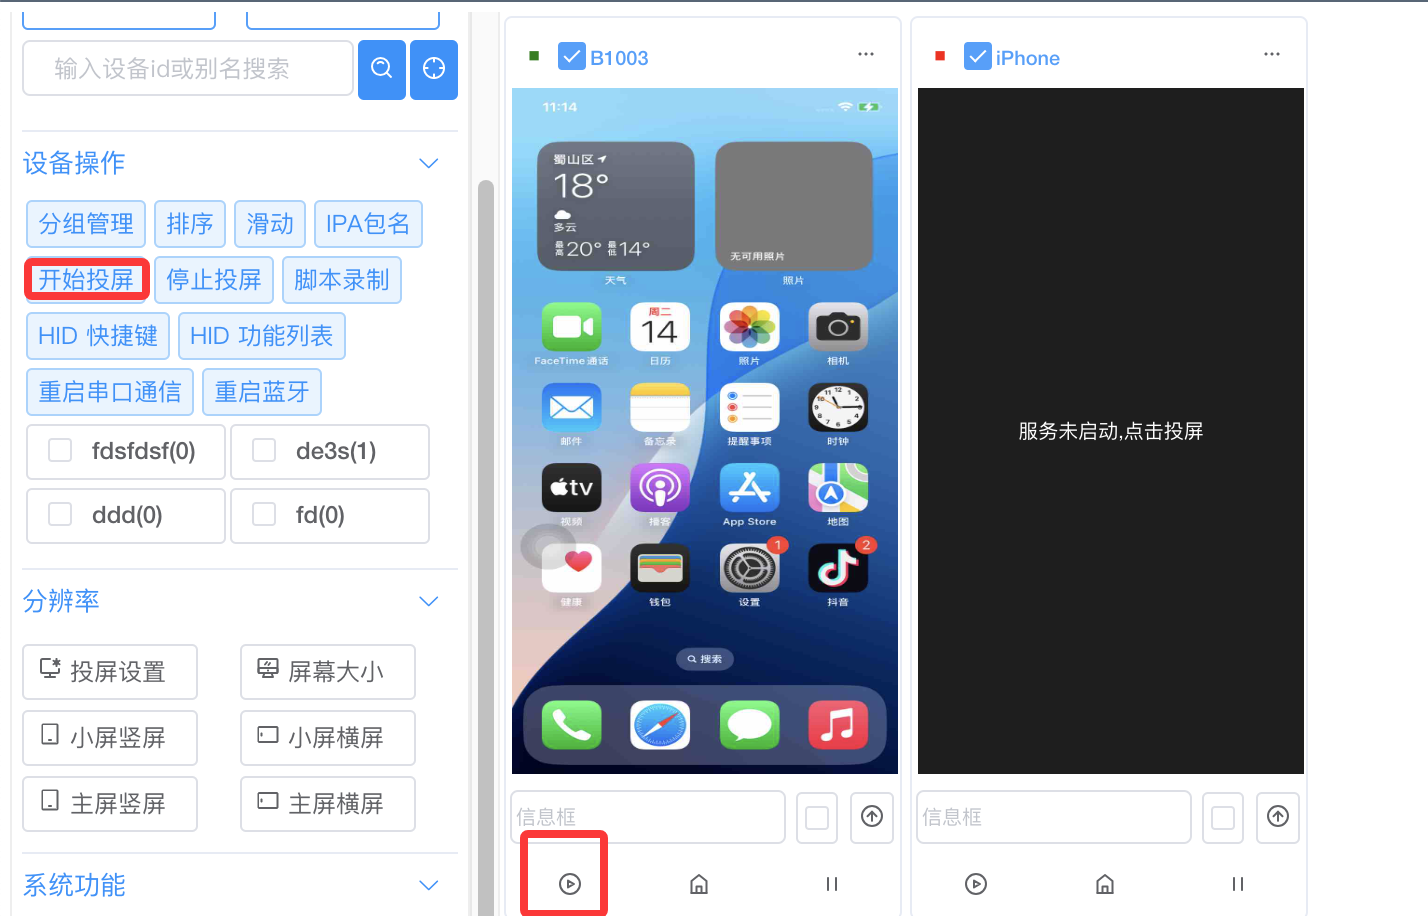
- You can then operate the phone with the mouse
- Adjust swipe mode in system settings
Common operations
Typing
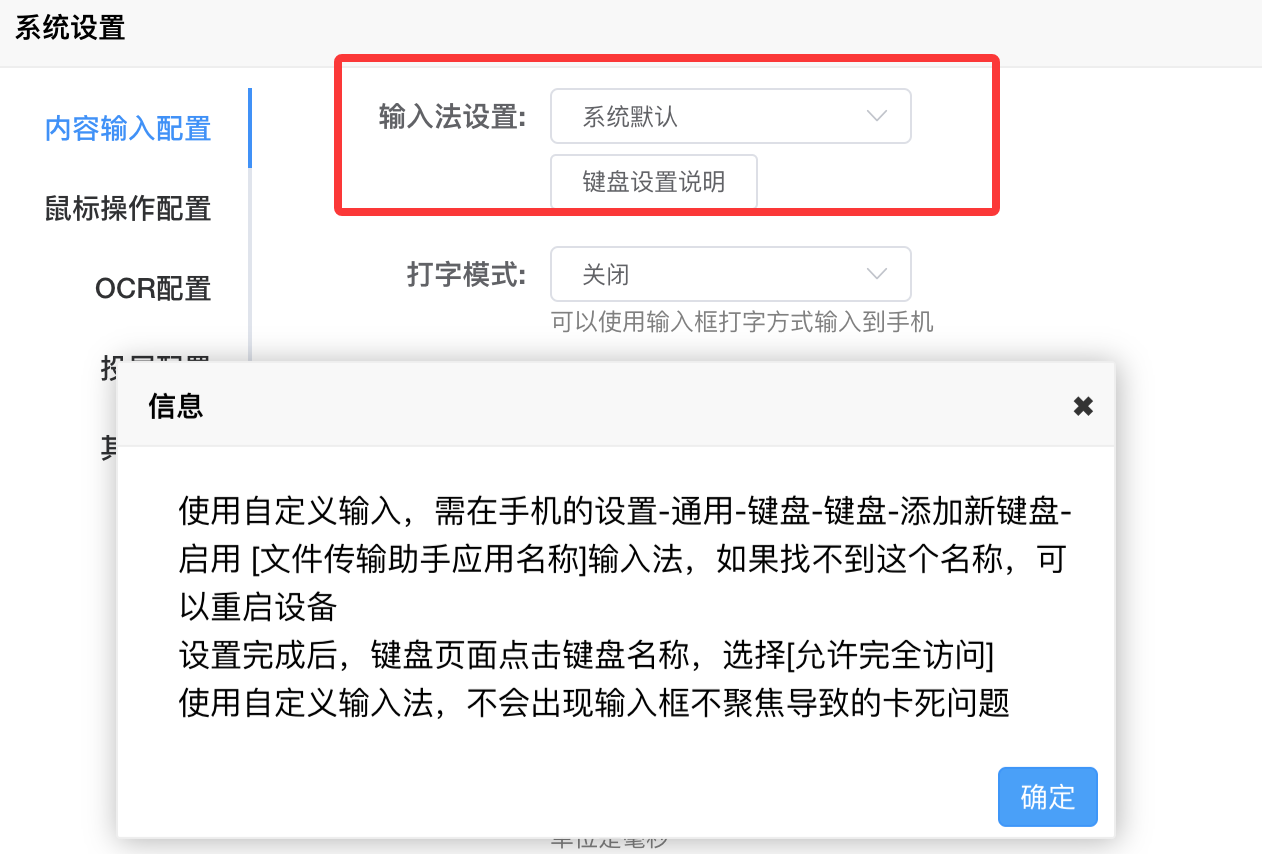
- Under system settings → Content input → Input settings, choose the system default or a custom IME
- Custom IME requires the File Transfer Helper IPA — click Keyboard setup guide for details
Script recording
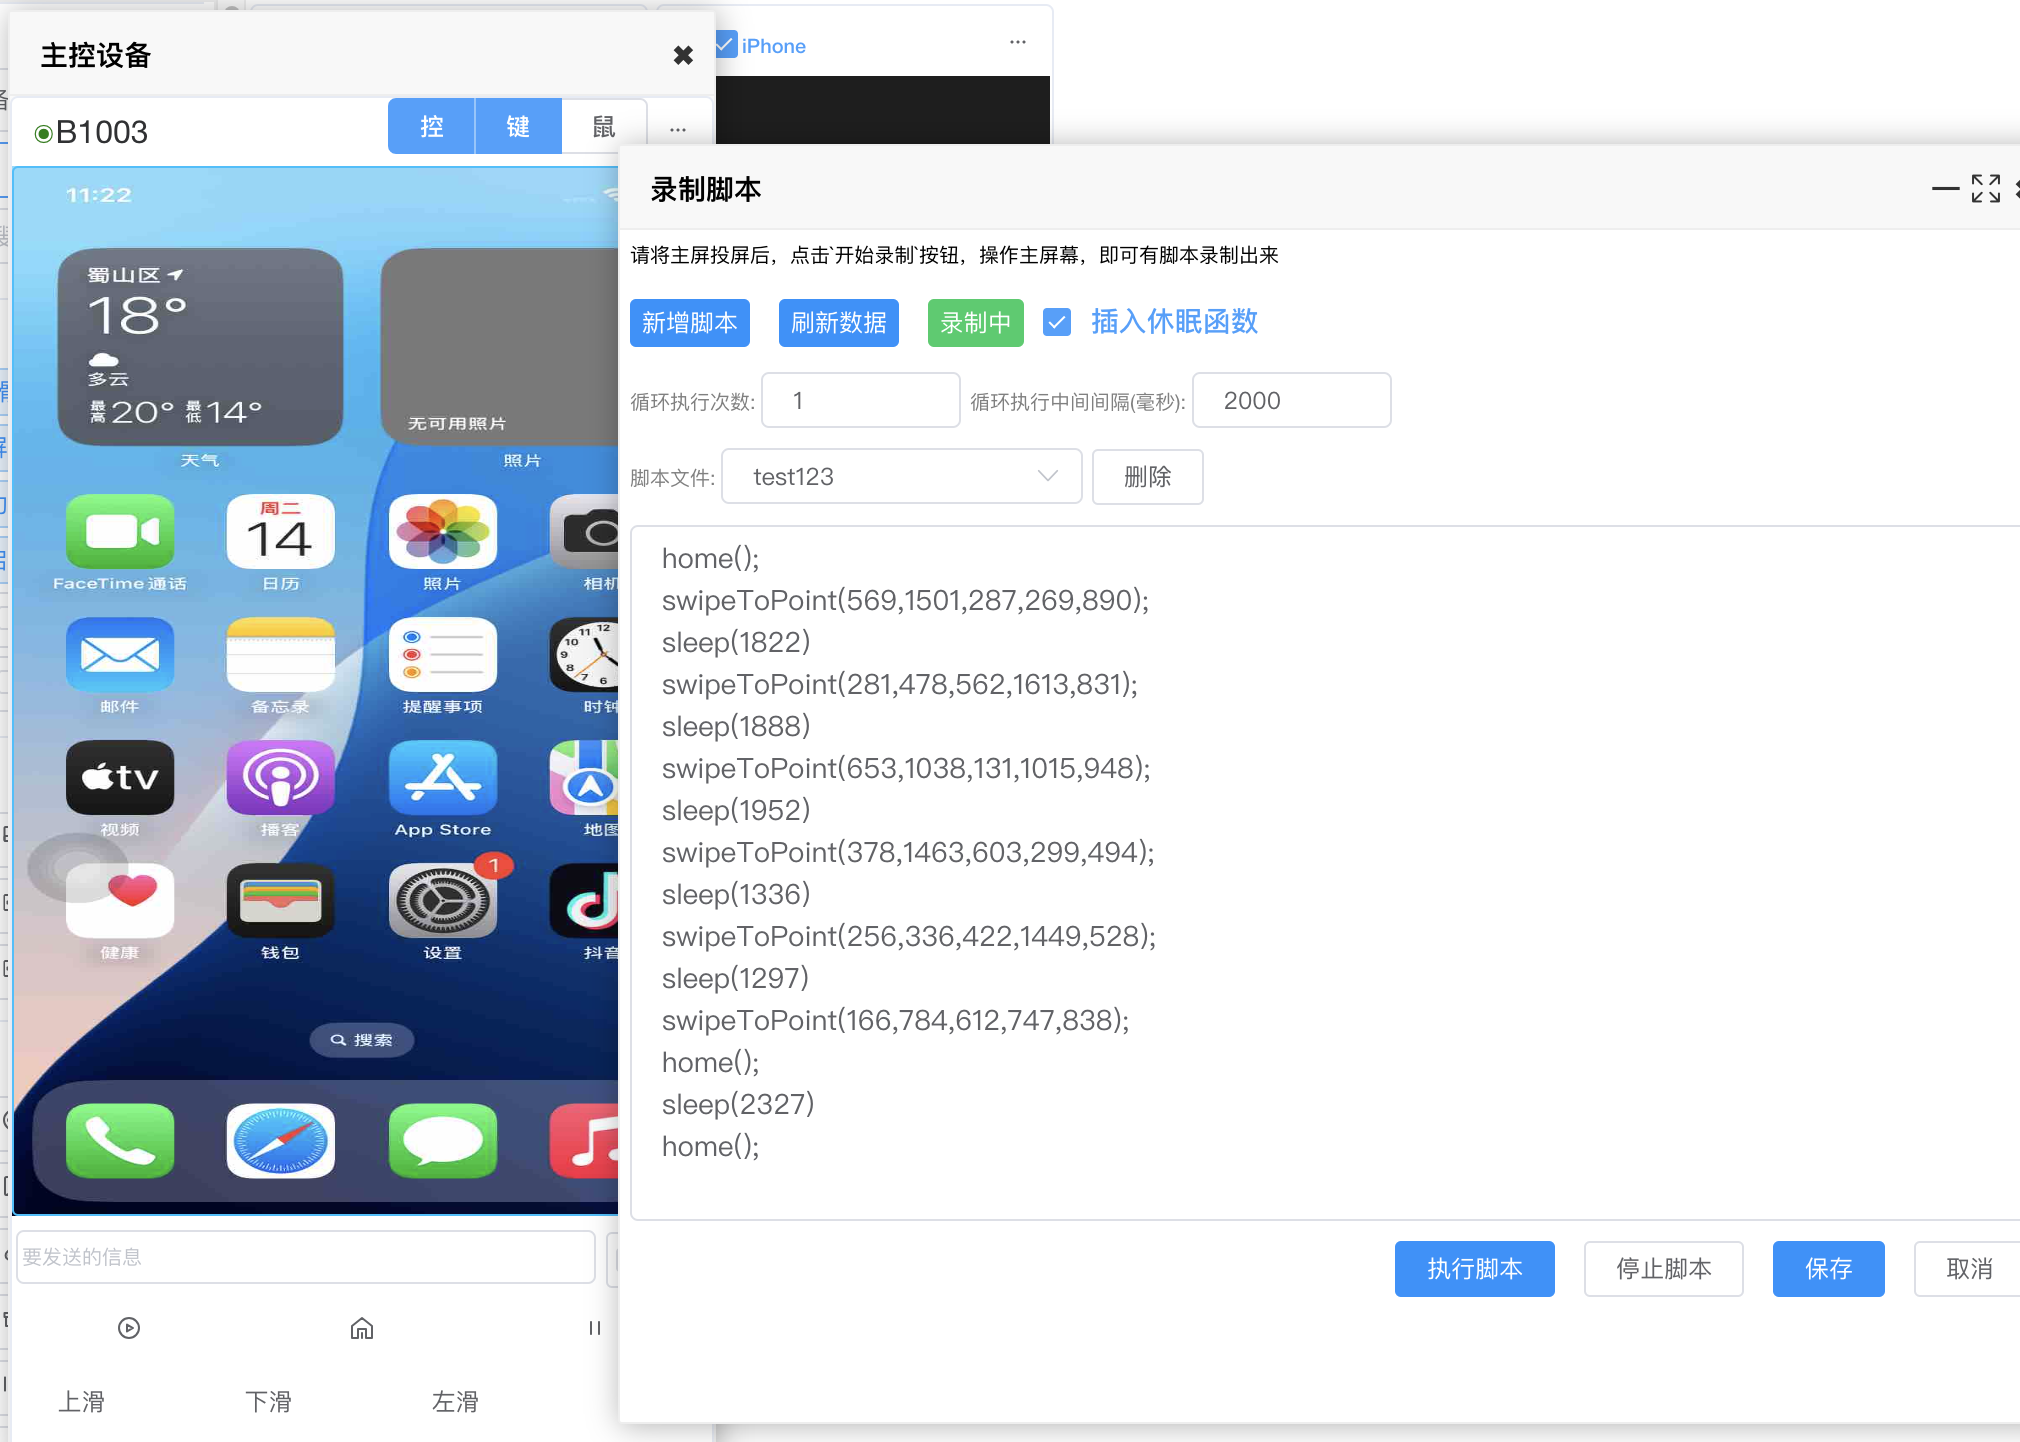
- Click Record script on the left toolbar
- Create a new script, click Start recording, then operate the phone on the main control window
- Save when done, then choose to run
- Note: recording only works when you operate on the main control window; running scripts requires a USB device license
Upload images / video
- iOS 15+: use Upload video or Upload image on the right toolbar; or right-click the small screen → Images & video
- Select folder for batch upload
- Select image / Select video for single upload
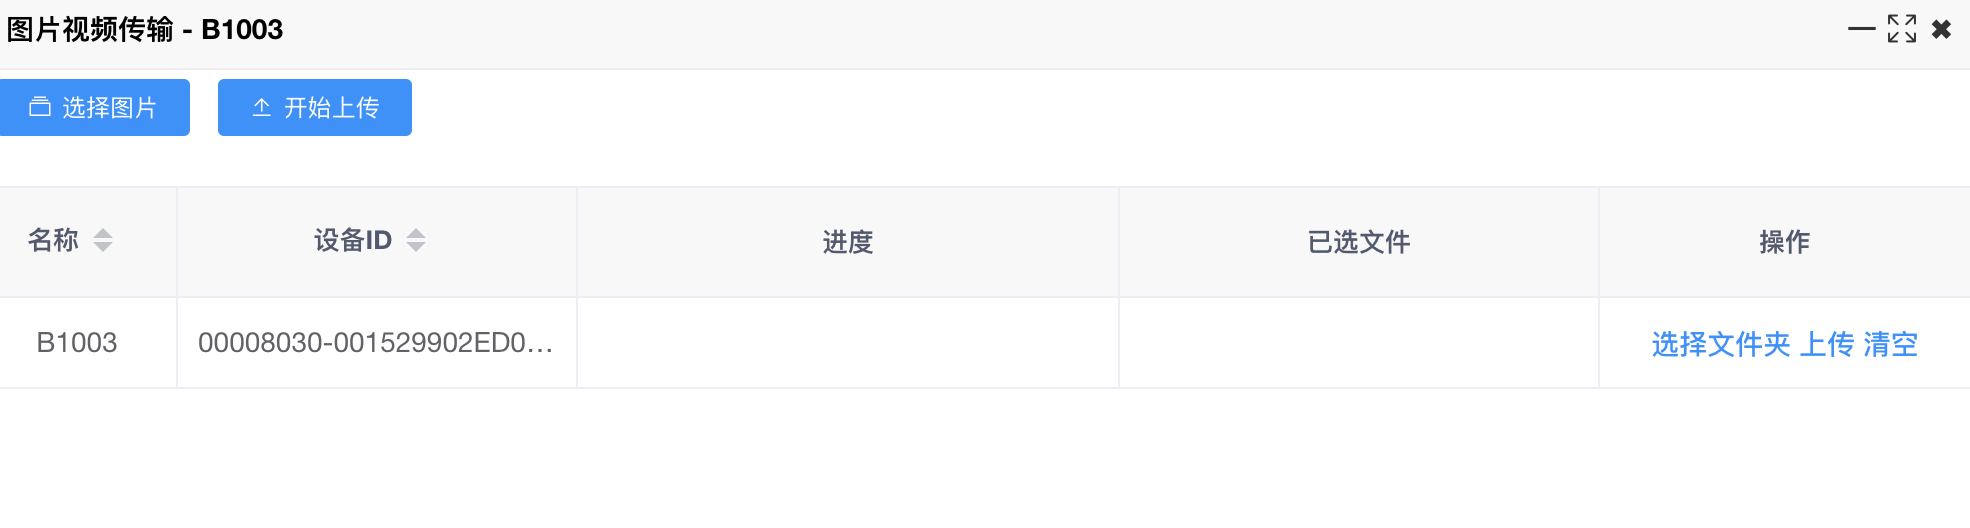
- Below iOS 15: use File Transfer Helper — install the helper IPA and follow the dialog instructions
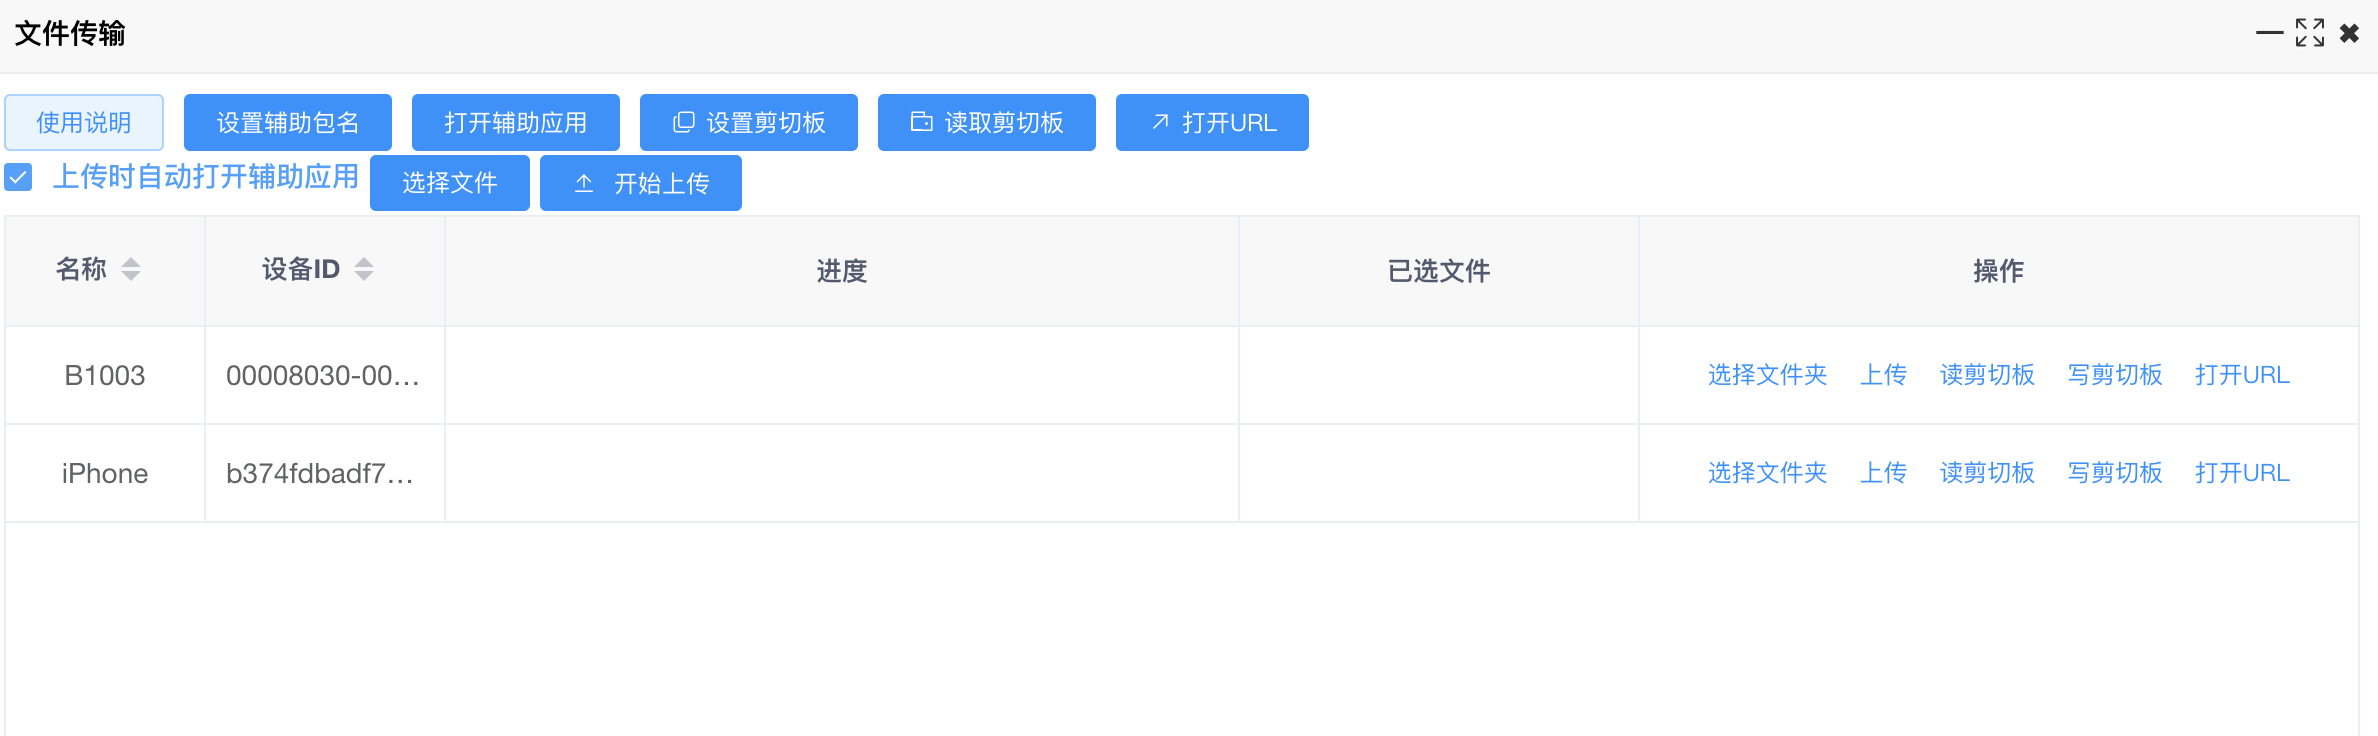
Clipboard
Copy text to the phone
- Click Copy text on the left toolbar
- On iOS 15+, bring the proxy IPA to the foreground first (click Open IPA), then send text
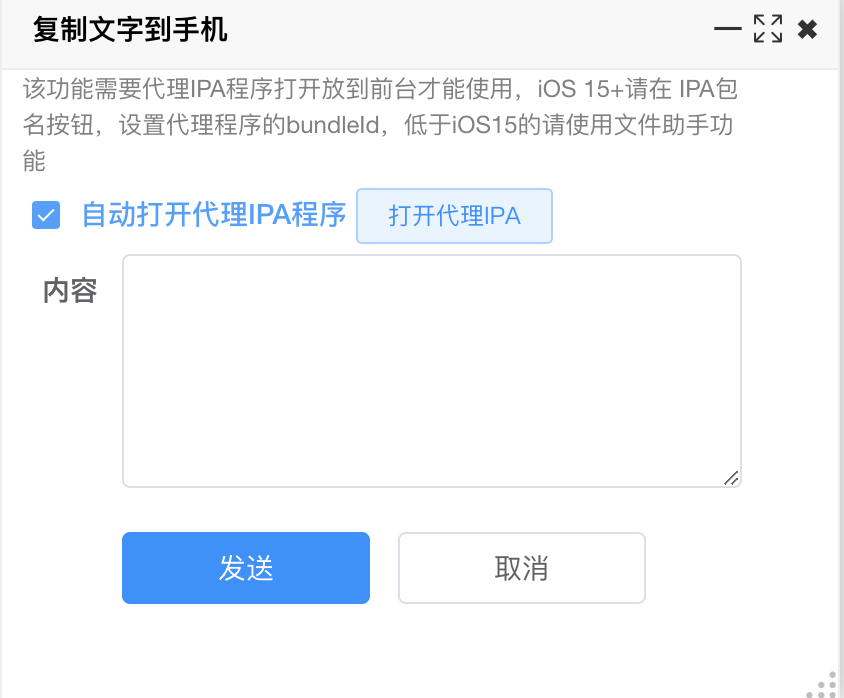
- Below iOS 15, use File Transfer Helper
Read phone clipboard
- Right-click the small screen → Clipboard → Read clipboard to PC
- On iOS 15+, bring the proxy IPA to the foreground first (click Open IPA), then read
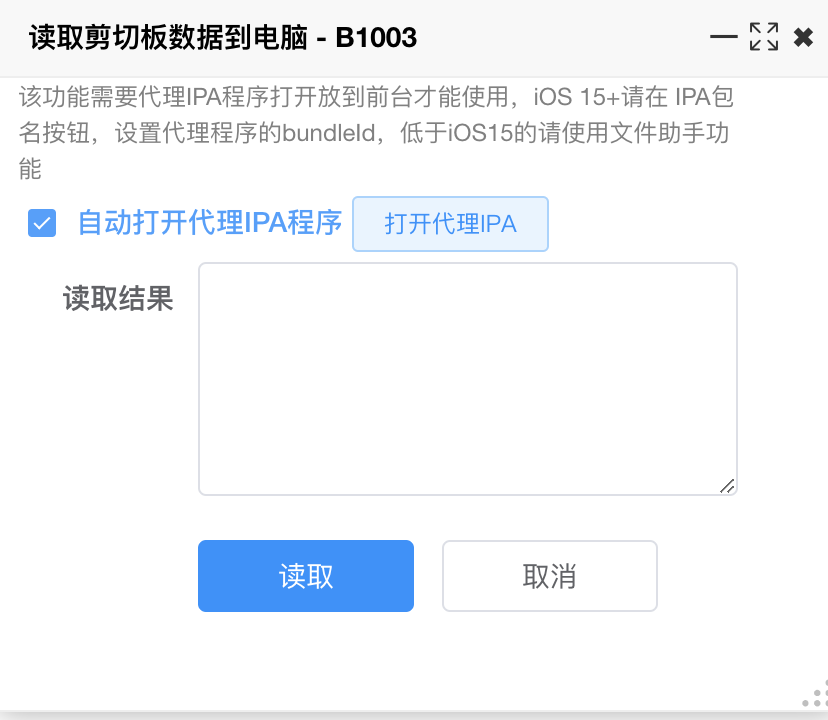
- Below iOS 15, use File Transfer Helper
Open URL
- Below iOS 15: use File Transfer Helper
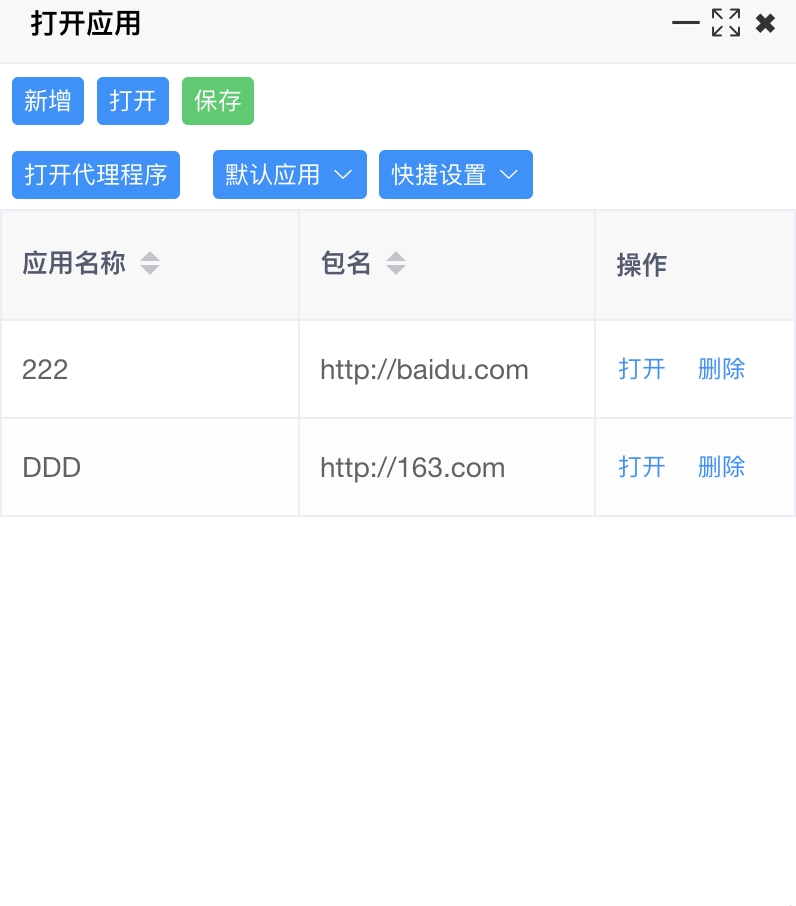
- iOS 15+: use Open app on the left toolbar — open the proxy IPA first, then enter a Bundle ID or URL
Other
- Soft-reset USB, reboot device, restart communication tunnel, etc. are in the right-click menu or left toolbar
- If automation fails to start, try soft-resetting USB; on iOS 17+, restart the communication tunnel